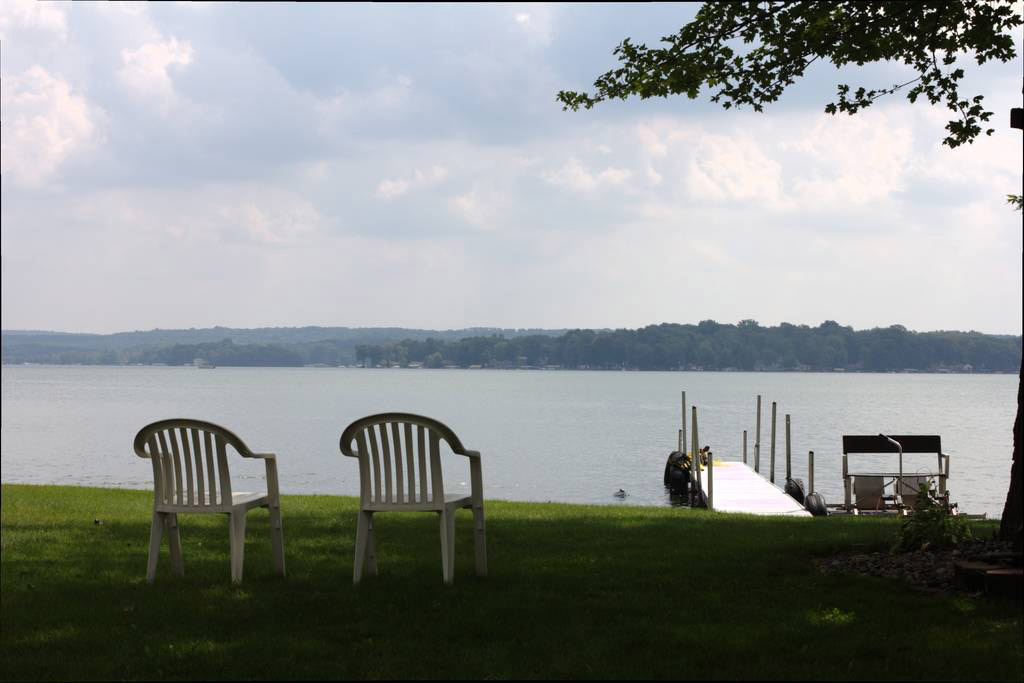
St. Johns River by Heather Hummel

St. Johns River by Heather Hummel Photography
Showing posts with label photography. Show all posts
Showing posts with label photography. Show all posts
Sunday, June 10, 2018
Thursday, May 24, 2018
Want to Take Your Photography to the Next Level?

Are you stuck in Program Mode with your DSLR camera?
Let us take you to the next level.
Good news! Two of Heather Hummel Photography's Master DSLR Photography online courses are now available!
1st One:
7 Steps to Stunning Images: A Guide to Mastering Your DSLR Camera is a FREE online course with Heather Hummel, land and seascape photographer. The course demystifies your DSLR camera and delves into the following 7 critical photography concepts as well as one "In the Field with Heather Hummel Photography" video.
2nd One:
In Master Low Light DSLR Photography, you will learn to analyze low light and to determine the optimal camera settings for creating captivating low-light outdoor images. Composition—the artful arrangement of all of the image elements — is detailed next. From there, Hummel provides text and illustrations to guide you through the art of producing low-light images of sunrises and sunsets; the moon and stars; hot air balloons, city lights, and fireworks; and nature and landscape photography. You will then learn how to use filters and camera-stabilizing tools to enhance the technical quality of your shots. Armed with the applications outlined in this course, photographers will be able to produce outstanding shots during off-peak hours.
In Master Low Light DSLR Photography, you will learn to analyze low light and to determine the optimal camera settings for creating captivating low-light outdoor images. Composition—the artful arrangement of all of the image elements — is detailed next. From there, Hummel provides text and illustrations to guide you through the art of producing low-light images of sunrises and sunsets; the moon and stars; hot air balloons, city lights, and fireworks; and nature and landscape photography. You will then learn how to use filters and camera-stabilizing tools to enhance the technical quality of your shots. Armed with the applications outlined in this course, photographers will be able to produce outstanding shots during off-peak hours.
Click HERE to learn more.
Happy trails!
7 Steps to Stunning Images: A FREE Online Course by Heather Hummel Photography

7 Steps to Stunning Images: A Guide to Mastering Your DSLR Camera by Heather Hummel, land and seascape photographer, is a FREE online course that demystifies your DSLR camera and delves into the following 7 critical photography concepts as well as one "In the Field with Heather Hummel Photography" video.
Course content includes:
- Step 1: Shedding Light on Light Sources
- Step 2: Conquer ISO Settings
- Step 3: Understanding Aperture/Depth of Field
- Step 4: Choosing a Shutter Speed
- Step 5: Composition
- Step 6: Tripods
- Step 7: Filters
Through this overview of concepts, you should be able to pick up your DSLR camera and start shooting in Manual Mode instead of Program Mode!
Share your photos in our private Facebook Group titled Master Low Light DSLR Photography.
Share your photos in our private Facebook Group titled Master Low Light DSLR Photography.
Click here to learn more about the 7 Steps to Stunning Images course.
Happy shooting!
Thursday, May 4, 2017
The Computer Device That Saved My Hand - Penclic Mouse
My real estate photography business not only requires that I
be on the computer a lot, but that I have precision in the processing of my
photos. While a laptop is convenient for on the fly access to my images, it
comes with the one feature I can’t stand—the touchpad. I was genetically given
piano playing hands with sinewy fingers, which means crunching them up to use
the touchpad is simply uncomfortable.

However, that all changed a few months ago when I started
using the Penclic Ambidextrous Mouse. It holds in your hand like a pen, which
is way more comfortable than either the touchpad or the traditional mouse. As a
ghostwriter, when I’m not out with my camera, the Penclic reminds me of my old
fashioned quill pen sans the ink, but boasting today’s technology demands,
including these three cool features:
- · use either your left or right hand
- · have the option of three different buttons and a scroll wheel
- · it’s both PC and Mac compatible.

So, after a long day of photographing homes, and when it’s
time to process the 30 plus images for my realtors, I welcome the comfort of
using the Penclic. I will say that the only adjustment I had to make was to
lessen the sensitivity of the mouse speed in the Control Panel. Once I did
that, it was spot on and easy to use. No matter what you do on the computer,
this device will increase performance because you can work longer without your
hands cramping up.
One last note: I have the USB version in black because my
laptop doesn’t support Bluetooth, but either are available, and I would have
preferred the Bluetooth version, which I will get when I upgrade my laptop!
Tuesday, July 5, 2016
Exploring the High Bridge Trail
Central Virginia has some of the best combinations of cycling and
photo-ops in the country. Long farm-laden roads with endless panoramic
views are the norm. But, in a little town—and a funky one at that—named
Farmville, is something a tad bit different.

A crushed limestone trail, formerly a historic train track that was a pivotal piece in the Civil War with Farmville spot in the middle. The trail is perfect for cycling (hybrid or mountain bikes) for those who want a long, flat (uncommon in central Virginia) ride.

Making for a nice, long ride, the trail runs 31 miles, while the bridge itself runs 2,400 feet in length and sits 125 feet above the Appomattox River. As the longest recreational bridge in Virginia, it is also one of the longest in the United States, and is on the National Register of Historic Places.

Whether approaching from the east or the west, once you reach the bridge, the landscape views are vast and spectacular. There are cutouts with benches on the bridge to sit and enjoy the view and listen to the river running beneath.


The views along the crushed limestone trail are admittedly a tad boring since it’s tree-lined; however, the trail is wide enough to comfortably pass other cyclists or walkers, shady in enough spots to keep it somewhat cool on a hot day, and on the east side of the bridge, there is a short jaunt that leads down to the Appomattox River.

Logistically, it’s easy to
find plenty of parking lots along the trail, and, although we parked in
downtown Farmville (on a Sunday when you can park for free all day),
there are two parking lots near High Bridge…one to the east and one to
the west.
East: Camp Paradise Rd.; Rice, Virginia, use 1681 Aspen Hill Rd. to get to the entrance of Camp Paradise Rd. then head 1.5 miles to the parking area. Once parked and on the trail, High Bridge is .3 miles from the parking lot.
West: River Rd., Farmville, use 553 River Rd., Farmville, Virginia, to get here. High Bridge is nearly a mile from the lot. Trailers are not allowed at this lot.

Note also that the trail is dog friendly, though they need to be on leashes. Be sure to bring plenty of water for them because the only water is river water and it can get hot on the trail. While horses are allowed, we didn’t see any—only evidence that they had been there.

When done with the trail, I highly recommend going to downtown Farmville to Uptown Cafe for lunch. They have water bowls outside for dogs, too.
Learn more about the High Bridge Trail by clicking here.
This post originally appeared on the Huffington Post
East: Camp Paradise Rd.; Rice, Virginia, use 1681 Aspen Hill Rd. to get to the entrance of Camp Paradise Rd. then head 1.5 miles to the parking area. Once parked and on the trail, High Bridge is .3 miles from the parking lot.
West: River Rd., Farmville, use 553 River Rd., Farmville, Virginia, to get here. High Bridge is nearly a mile from the lot. Trailers are not allowed at this lot.

Note also that the trail is dog friendly, though they need to be on leashes. Be sure to bring plenty of water for them because the only water is river water and it can get hot on the trail. While horses are allowed, we didn’t see any—only evidence that they had been there.
When done with the trail, I highly recommend going to downtown Farmville to Uptown Cafe for lunch. They have water bowls outside for dogs, too.
Learn more about the High Bridge Trail by clicking here.
This post originally appeared on the Huffington Post


Tuesday, April 12, 2016
3 Filters Every Pro Photographer Uses
 |
| www.HeatherHummelPhotography.com |
One of the leaps from amateur to pro photographer is
investing in gear beyond the lens and camera body. From tripods to lens hoods
to external flashes to filters, accessories are a photographer’s best friend.
There are three filters that every pro photographer carries
in their bag, no matter what the photoshoot might be…UV, Polarizer, and Neutral Density Filters.
Each of these basic, yet necessary, filters enhances a photo in its own way and depending on the scene being shot.
Each of these basic, yet necessary, filters enhances a photo in its own way and depending on the scene being shot.
UV Filters

The simplest filter of the three is the UV filter. Likely the most purchased filter for its role of protecting lenses.
What’s its purpose? Photography is all about light, and the visible light spectrum runs from red to violet. Red light has the longest wavelength and violet light has the shortest. Light with a longer wavelength than red is called infrared, and light with a shorter wavelength than violet is called ultra violet or UV. That’s the basic lesson.
So, how does it translate to the camera?
Truthfully, today’s DSLR sensors really aren’t impacted by UV rays. The reason for using a UV filter is more of a protection for the lens against scratches. Out in the field, scratches are likely to happen, especially when many photographers forgo a lens cap during a photo shoot, relying on the protection of the UV filter.
Protecting the lens with a much less expensive UV filter is worth the investment, even if the filter isn’t really needed for its initial use. Make sure you order the right size for your lens…and buying an extra for each lens doesn’t hurt either.
Polarizer Filters

No landscape photographer I know leaves home without their polarizer filters. I say “filters” (plural) because I know they have one for each lens they’ll be using.
This filter is critical for two reasons. One, it enhances the blues in the sky, and when clouds are present, they add a dramatic contrast. The other benefit is that they cut reflection and glare, such as when photographing reflective surfaces such as water or glass.
The best polarizing filter results are images shot when the sun is at a 45-degree angle from the subject…or think of it like this—when the sun is over your left or right shoulder. If the sun is directly casting down, even with rays, this filter won’t do much good.
Polarizers are most effective when used with dramatic skies or when reducing or enhancing reflection in bodies of water.
When purchasing a polarizer filter, note that a “circular” polarizer will allow you to turn the filter until the desired lighting effect is achieved.
Lastly, some photographers stack a polarizer filter on top of their UV filter. This isn’t recommended because the odds of vignetting, especially with wide angle lenses, are increased, so it is better to switch the polarizer for the UV filter.
Graduated ND Filter

The graduated neutral density filter is ideal for outdoor photo shoots. Graduated neutral density filters are clear on the bottom and slightly opaque on the top. They have either an abrupt or a gradual shift in the middle of the filter and their purpose is to shade the brightest part of a scene. This creates two results. One is that by shading the brightest part of a scene, for example a sunset, it evens out the foreground, cutting down on over or under exposing parts of the photo.
The most critical thing to realize when using this filter is
that they work best with a scene where there is a fairly linear line, such as a
horizon or cityscape. Otherwise, even with the graduated part of the filter, a
shadowing line can be evident.
Another purpose for this filter is to simply shade the image
to slow the shutter speed. This comes in handy when photographing water, which
helps to create a beautiful dreamlike effect as the water flows and is captured
at a slower shutter speed. It creates the image without overexposure and it lets
the water blur into the desired milky effect.
If you’re an amateur looking to add filters to your
accessory bags, start with these and take the time to use each one for their
intended purpose. You’ll start to see a vast improvement in the quality of your
images.
For more information on photographing low light situations and water, check these out:

Note: Heather Hummel is an Amazon Associate.
Saturday, October 3, 2015
Q&A With the Masterminds Behind MasterClass
 |
| David Rogier and Aaron Rasmussen Photo Credit: MasterClass |
 |
| Photo Credit: MasterClass |
HH: Explain how was this idea born, let alone executed?
"Aaron and I knew we wanted to work together since we first met.. We both shared a passion for learning and neither of us had a great school experience growing up. I was always getting in trouble for being so inquisitive, and Aaron kept running out of classes to take in the tiny town he grew up in. We decided our mission was to make the kind of classes we wish we had growing up -- classes with riveting and engaging lessons taught by the world's best. When we reached out to our ideal potential instructors, we were thrilled they were excited to be a part of MasterClass!" - David
 |
| Photo Credit: MasterClass |
"When we started reaching out to potential instructors, we found that that many of them were excited to teach. All of our instructors really want to share what they've learned along the way, and most of the time they'd come to our first meeting with exciting and brilliant ideas for their classes." - Aaron
 |
| Photo Credit: MasterClass |
HH: Is there anyone you wanted that you couldn't get?
"We have been very fortunate to work with some really great and well respected instructors for the launch of MasterClass. We also have many more instructors on board that we have yet to announce. David and I each have people that we would personally love to learn from. For me, it would be amazing to have James Cameron and Christopher Nolan as instructors. Both are fantastic storytellers and visionaries." - Aaron
 |
| Photo Credit: MasterClass |
"All of our classes include opportunities for instructors to connect with students and for students to connect with one another. We're constantly testing new ways to forge these connections to enhance the learning experience, and technology plays a huge role in this process. We recently hosted an office hours session with Dustin Hoffman in LA where he Skyped with a student in Sweden and critiqued his performance in real-time. This wouldn't have been possible several years ago." - David
 |
| Photo Credit: MasterClass |
 |
| Photo Credit: MasterClass |
"The response has been amazing. Our students are learning and improving their skills every day. As an example, we got an email from the mother of a young student in Dustin Hoffman's class. The tips Dustin gave in his class helped her daughter get cast in her first big role! We had a mini-celebration for her in our office when we heard the news. Similarly, we have students who are beating the best players in their tennis leagues and having their writing published for the first time. It's amazing to see the impact our instructors are having on the lives of their students! Our ultimate wish is to have one of our current students come back to teach their own MasterClass someday." - Aaron
Thank you, David and Aaron.
For more information or to take a class on MasterClass, visit their website.
Follow Heather Hummel on Twitter: www.twitter.com/HeatherHummel
This post originally appeared on the Huffington Post
Monday, September 14, 2015
The Evolution of Real Estate Photography
Real estate photography has historically showcased disastrous images. We've all seen the images of a bathroom with the toilet seat up, a bedroom with an unmade bed or the laundry basket overflowing, kids' toys scattered about their rooms, personal photos covering the walls, and so on and so forth. Add to the list images that are blurry, too dark, too light, or taken from a misguided angle. It's a wonder some houses sold at all.
 |
| Photo Credit: Heather Hummel Photography |
 |
| Photo Credit: Heather Hummel Photography |
1. Turn on the lights. If there isn't enough light, create it and be sure to replace blown bulbs.
2. Make the beds; ideally with linens that match.
3. Fold towels in bathrooms and place on shelves or hang neatly on racks.
4. Declutter all counter tops in the kitchens and bathrooms, but leave a splash of color in the form of fruit or flowers on the kitchen counter.
5. Remove pictures and magnets from the refrigerator.
6. In the kitchen, put away cluttering items, such as trash cans, sponges, soap, and dish or cleaning cloths.
7. Vacuum carpets and hard wood floors.
8. De-clutter and de-personalize so potential buyers can imagine the home as their own.
Once the photos are professionally captured, real estate photographers greatly benefit from outsourcing the editing work to a quality service such as PhotoUp in Grand Rapids, Michigan and Cebu, Philippines. Real estate photographer Jason Johnson is one photographer who takes advantage of PhotoUp's editing services.
 |
| "Before" Photo Credit Jason Johnson, Grand Rapids, Michigan |
 |
| "After" Edit by PhotoUp: Photo Credit Jason Johnson, Grand Rapids, Michigan |
 |
| "Before" Photo Credit Jason Johnson, Grand Rapids, Michigan |
 |
| "After" Edit by PhotoUp: Photo Credit Jason Johnson, Grand Rapids, Michigan |
However, PhotoUp isn't only a photo editing service. They champion photographers and help them grow their business. "We're the only ones out there doing this transparently, and real estate happens to be our niche. We have a team in the Philippines that work in a Google-like office. It's a very creative environment. We find great ways to impact the photographers and the communities in which we work," says Chris Palmer of PhotoUp. While some photographers might be leery of outsourcing, Chris points out that they allay those fears. "We do customized stylization so clients who want a particular style and consistent look to their images can have it. We see the relationship with our clients as a collaborative team effort where we dedicate our time to learning the photographer's particular style."
 |
| "Before" Photo Credit Jason Johnson, Grand Rapids, Michigan |
 |
| "After" Edit by PhotoUp: Photo Credit Jason Johnson, Grand Rapids, Michigan |
 |
| "Before" Photo Credit: Heather Hummel Photography |
 |
| "After: Dusk" Edit by PhotoUp Photo Credit: Heather Hummel Photography |
 |
| "After: Blue Sky" Edit by PhotoUp Photo Credit: Heather Hummel Photography |
At the time of writing this article, Charlottesville has approximately 310 real estate listings by agents. As I searched through listings, I still found images with toilet seats up, magnets on the refrigerator, and some that could clearly have used a professional editing service, but overall the quality was improved.
One thing is for sure, each property boasted closer to 35 images, versus the dozen or so used in the earlier days of online real estate. There is no doubt that the evolution of real estate photography has reached milestones and continues to grow.
Note: This blog post from PhotoUp provides valuable tips as well.
Subscribe to:
Posts (Atom)