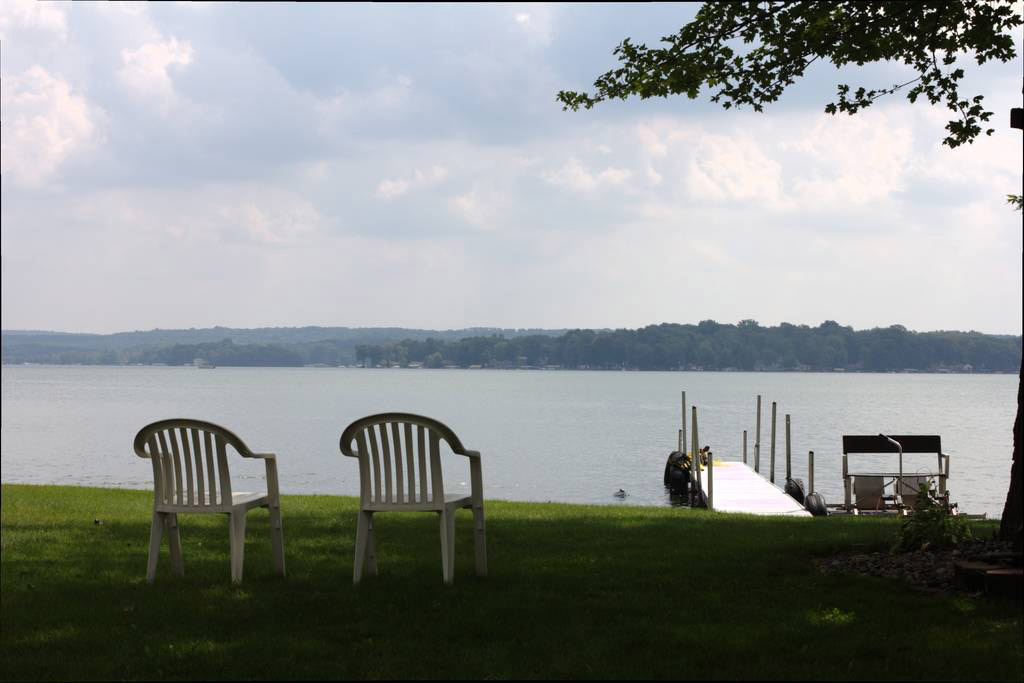
St. Johns River by Heather Hummel

St. Johns River by Heather Hummel
St. Johns River by Heather Hummel Photography
Showing posts with label DSLR. Show all posts

Tuesday, April 12, 2016

3 Filters Every Pro Photographer Uses

www.HeatherHummelPhotography.com

One of the leaps from amateur to pro photographer is investing in gear beyond the lens and camera body. From tripods to lens hoods to external flashes to filters, accessories are a photographer’s best friend.
There are three filters that every pro photographer carries in their bag, no matter what the photoshoot might be…UV, Polarizer, and Neutral Density Filters.

Each of these basic, yet necessary, filters enhances a photo in its own way and depending on the scene being shot. 

UV Filters
 
The simplest filter of the three is the UV filter. Likely the most purchased filter for its role of protecting lenses.

What’s its purpose? Photography is all about light, and the visible light spectrum runs from red to violet. Red light has the longest wavelength and violet light has the shortest. Light with a longer wavelength than red is called infrared, and light with a shorter wavelength than violet is called ultra violet or UV. That’s the basic lesson.
So, how does it translate to the camera?

Truthfully, today’s DSLR sensors really aren’t impacted by UV rays. The reason for using a UV filter is more of a protection for the lens against scratches. Out in the field, scratches are likely to happen, especially when many photographers forgo a lens cap during a photo shoot, relying on the protection of the UV filter.

Protecting the lens with a much less expensive UV filter is worth the investment, even if the filter isn’t really needed for its initial use. Make sure you order the right size for your lens…and buying an extra for each lens doesn’t hurt either.

Polarizer Filters


No landscape photographer I know leaves home without their polarizer filters. I say “filters” (plural) because I know they have one for each lens they’ll be using.

This filter is critical for two reasons. One, it enhances the blues in the sky, and when clouds are present, they add a dramatic contrast. The other benefit is that they cut reflection and glare, such as when photographing reflective surfaces such as water or glass.

The best polarizing filter results are images shot when the sun is at a 45-degree angle from the subject…or think of it like this—when the sun is over your left or right shoulder. If the sun is directly casting down, even with rays, this filter won’t do much good.

Polarizers are most effective when used with dramatic skies or when reducing or enhancing reflection in bodies of water.

When purchasing a polarizer filter, note that a “circular” polarizer will allow you to turn the filter until the desired lighting effect is achieved.

Lastly, some photographers stack a polarizer filter on top of their UV filter. This isn’t recommended because the odds of vignetting, especially with wide angle lenses, are increased, so it is better to switch the polarizer for the UV filter.

Graduated ND Filter


The graduated neutral density filter is ideal for outdoor photo shoots. Graduated neutral density filters are clear on the bottom and slightly opaque on the top. They have either an abrupt or a gradual shift in the middle of the filter and their purpose is to shade the brightest part of a scene. This creates two results. One is that by shading the brightest part of a scene, for example a sunset, it evens out the foreground, cutting down on over or under exposing parts of the photo. 
The most critical thing to realize when using this filter is that they work best with a scene where there is a fairly linear line, such as a horizon or cityscape. Otherwise, even with the graduated part of the filter, a shadowing line can be evident. 
Another purpose for this filter is to simply shade the image to slow the shutter speed. This comes in handy when photographing water, which helps to create a beautiful dreamlike effect as the water flows and is captured at a slower shutter speed. It creates the image without overexposure and it lets the water blur into the desired milky effect.

If you’re an amateur looking to add filters to your accessory bags, start with these and take the time to use each one for their intended purpose. You’ll start to see a vast improvement in the quality of your images.

For more information on photographing low light situations and water, check these out:
  

Note: Heather Hummel is an Amazon Associate.

Monday, September 14, 2015

The Evolution of Real Estate Photography


Real estate photography has historically showcased disastrous images. We've all seen the images of a bathroom with the toilet seat up, a bedroom with an unmade bed or the laundry basket overflowing, kids' toys scattered about their rooms, personal photos covering the walls, and so on and so forth. Add to the list images that are blurry, too dark, too light, or taken from a misguided angle. It's a wonder some houses sold at all.

Photo Credit: Heather Hummel Photography
Recently, with the advent of websites like Zillow and Trulia, the pressure is on for agents to deliver high quality images to potential buyers. After looking at a lot of real estate sites, I couldn't help but notice that the quality of images has increased greatly. It is evident that real estate agents are taking online presence and the influence of images much more seriously, and I believe this is due to their effort to hire professional photographers for the jobs. Yes, anyone can take a photo with an iPhone or Droid, but that doesn't mean the quality is of a professional level. However, there is some debate that the images of today aren't really fairly representing homes. As one Facebook friend in Boise, Idaho pointed out, "Some of these photographers are Photoshopping images for realtors so poorly; you don't know if you're shopping for properties in Boise or in Toontown." He is correct. Real estate agents have to keep it real. Too many images make a home look bigger and brighter than it really is, which leads to a big letdown when potential buyers show up for a viewing.


Photo Credit: Heather Hummel Photography
I consistently photograph new listings for Charlottesville, Virginia's seasoned real estate agent, Joan Esposito of Roy Wheeler, who says, "A great photographer is critical to our marketing plan. They can make every property, no matter what the price range, stand out...and this makes our phones ring!" Joan is great to collaborate with because she has a keen eye for a listing and the type of images that best represent it. Staging is also an art that she intuitively knows how to do, and one that makes photographing properties much easier. Besides her listings, I have photographed properties in coastal northern Florida, which is a completely different type of community than the Blue Ridge Mountains. Regardless of location, though, there are simple staging concepts that make for good interior real estate photography.

1. Turn on the lights. If there isn't enough light, create it and be sure to replace blown bulbs.
2. Make the beds; ideally with linens that match.
3. Fold towels in bathrooms and place on shelves or hang neatly on racks.
4. Declutter all counter tops in the kitchens and bathrooms, but leave a splash of color in the form of fruit or flowers on the kitchen counter.
5. Remove pictures and magnets from the refrigerator.
6. In the kitchen, put away cluttering items, such as trash cans, sponges, soap, and dish or cleaning cloths.
7. Vacuum carpets and hard wood floors.
8. De-clutter and de-personalize so potential buyers can imagine the home as their own.

Once the photos are professionally captured, real estate photographers greatly benefit from outsourcing the editing work to a quality service such as PhotoUp in Grand Rapids, Michigan and Cebu, Philippines. Real estate photographer Jason Johnson is one photographer who takes advantage of PhotoUp's editing services.


"Before" Photo Credit Jason Johnson, Grand Rapids, Michigan


"After" Edit by PhotoUp: Photo Credit Jason Johnson, Grand Rapids, Michigan

"Before" Photo Credit Jason Johnson, Grand Rapids, Michigan
 
"After" Edit by PhotoUp: Photo Credit Jason Johnson, Grand Rapids, Michigan

However, PhotoUp isn't only a photo editing service. They champion photographers and help them grow their business. "We're the only ones out there doing this transparently, and real estate happens to be our niche. We have a team in the Philippines that work in a Google-like office. It's a very creative environment. We find great ways to impact the photographers and the communities in which we work," says Chris Palmer of PhotoUp. While some photographers might be leery of outsourcing, Chris points out that they allay those fears. "We do customized stylization so clients who want a particular style and consistent look to their images can have it. We see the relationship with our clients as a collaborative team effort where we dedicate our time to learning the photographer's particular style."
"Before" Photo Credit Jason Johnson, Grand Rapids, Michigan

"After" Edit by PhotoUp: Photo Credit Jason Johnson, Grand Rapids, Michigan
Building a real estate photography business takes a lot of work from marketing to shooting to editing to delivering, so to be able to outsource the editing is a great advantage for freeing up valuable time. "We're always exploring new ways to help photographers scale and grow their businesses. The ultimate goal for a real estate photographer is to have a team of photographers shooting for them and an editing team processing their images because editing isn't a revenue producing function. Photographers ought to be out there shooting. With us, they have access to editing twenty-four hours a day and five and a half to six days a week, depending on the plan they are on. Instead of spending hours editing, they can upload their images to us and go enjoy a glass of wine with their spouse." In Florida, I photographed a client's house while passing through. It was a cloudy day, so the skies were gray. I was leaving the next morning and wasn't able to go back and re-photograph it with blue skies.

"Before" Photo Credit: Heather Hummel Photography
"After: Dusk" Edit by PhotoUp Photo Credit: Heather Hummel Photography

"After: Blue Sky" Edit by PhotoUp Photo Credit: Heather Hummel Photography
So, I sent this image in RAW format to PhotoUp and was very happy with their editing work. The addition of blue sky and the dusk effect were just right. The images were sent back to me quickly and efficiently, and I was able to pass them on to my client.

At the time of writing this article, Charlottesville has approximately 310 real estate listings by agents. As I searched through listings, I still found images with toilet seats up, magnets on the refrigerator, and some that could clearly have used a professional editing service, but overall the quality was improved.

One thing is for sure, each property boasted closer to 35 images, versus the dozen or so used in the earlier days of online real estate. There is no doubt that the evolution of real estate photography has reached milestones and continues to grow.

Note: This blog post from PhotoUp provides valuable tips as well.

Tuesday, July 14, 2015

8 Steps for Awesome Full Moon Photos

Photo Credit: Heather Hummel Photography
This month is a Blue Moon month. Needless to say, Facebook News Feeds, Instagram, and Twitter are aglow with blurry white blobs! Tossed into the bunch are gorgeous images of the full moon, perhaps reflecting on waters or rising over a mountainside.

(Note that while new smartphones now accommodate shutter speed technology, which is amazing, this article speaks to using a DSLR camera, which has control of ISO, shutter speed (including Bulb), and aperture settings.)


With so many opportunities to photograph a full moon in a given year, there are many chances to improve full moon photography skills where you can go from the white blob in the top photo to the crater defined full moon images below:
From this:

White Blob!
To this:
Photo Credit: Heather Hummel Photography


Here are 8 steps for photographing the Full Moon. They are a foundational place to start, and depending on individual results, can (and should) be adjusted accordingly.

1. In order to enlarge the moon and show the details of the surface, use a good telephoto lens that is longer than 200 mm. Alternatively, such as in this example, if there is a landscape foreground, the focal length could be a wide angle.

Moonrise in the Rocky Mountains
Photo Credit:Heather Hummel Photography


2. Set the Camera Mode to Manual.

3. Set the ISO to 100 or whatever the base ISO is for your camera. Again, this is just a starting point. Some of these images were shot at higher ISOs.

4. Set the Aperture to f/11, whether using Manual Mode or Aperture Priority.

5. Set the shutter speed to 1/125 with an ISO of 100. If the ISO is set for 200, use a shutter speed of 1/250.

6. Set the focus to Manual. This is often done right on the lens.

7. Set the lens to focus on the center of the infinity sign. Note: Higher end cameras can accommodate infinity in different ways. This step is for more basic DSLR cameras.

8. Set the self-timer to two-seconds and press the shutter release. Depending on the results, either slow down or speed up the shutter speed. For example, if you are still getting a white blob, speed up the shutter speed. This is key: the reason for the white blob is the shutter speed is too slow, allowing the moon light to over expose the image. Speed it up, and you'll see greater moon surface definition.

Moon Rising Over Point Lobos
Photo Credit: Heather Hummel Photography

Accessories:
In order to achieve even better results, add these accessories to your camera bag.


Filters: There will be situations where an filter will help to keep down the white blob effect. A neutral gradient graduated filter, such as this one by Tiffen, can help to shade the brightness of the moon while allowing more light on the foreground. If there are foregrounds such as the ones in the above examples, use a ND graduated filter to even out the foreground and the sky.
 
Tiffen 67mm Color Graduated Neutral Density 0.6 Filter

This example is a 67mm, be sure to get the right mm size for your lens(es).

Tripods:  I always use a tripod, such as Ravelli or Manfrotto, while on low light photography shoots.


Ravelli APLT4 61-inch Light Weight Aluminum Tripod With Bag
 
 Manfrotto MKCOMPACTLT-BK Compact Tripod (Black)


Remote Shutter Release:
For under $10, I highly recommend picking up a remote shutter release. Even though the camera should be set to a 2 second self-timer, having the remote shutter release adds to the reduction of camera shake. I use mine all the time in conjunction with the self-timer.
This top one is an example of one for Canons.


FotoTech FTRC-6 IR Wireless Shutter Release Remote For Canon EOS 5DS, 5DR, 7D Mark II, EOS 6D, EOS 7D, EOS 70D, EOS 60Da, EOS 60D, EOS 5D Mark III, EOS 5D Mark II, SL1, T6s, T6i, T5i, T4i, T3i, T2i, T1i Digital SLRS(Replaces Canon RC-5 RC-6) with FotoTech Velvet Bag

And this is an example of one for Nikons.

FotoTech ML-L3 Wireless Shutter Release Remote For Nikon D750, D5500, D5300, D610, D7200, D7100, D3300, D3000, D3200, D5200, D5100, D5000, D7000, D60, D80, D90, D600, CoolPix P7800, Coolpix P7000, P6000, P7100, N65, N75, Coolpix 8400, 8800, Pronea S, Nuvis S, Nikon 1 J1, Nikon 1 J2 Nikon 1 V1 V2 V3 Digital SLRS with FotoTech Velvet Bag

Between the filters, tripod, and remote shutter release, your full moon images will be on par with the pros!

Want to learn how to master low light photography and to capture your own low-light photos? My book MASTER LOW LIGHT PHOTOGRAPHY is available on Amazon.

Wednesday, July 1, 2015

DSLR Cameras: The Top 3 Best Sellers Under $500

Shopping for a new DSLR camera can be overwhelming, even for advanced photographers. So many choices, pixels, and lenses. Since I am in the market for a new DSLR camera myself, I pulled together a list of the top 3 (because, honestly, 10 is overwhelming!) DSLR cameras and kit lenses (18-55mm) priced under $500.  Yes, you can pick up a great DSLR camera and an 18-55mm lens for under $500.

Keep in mind these tips:

1. There are variations to kits, for example you might want to add a telephoto lens if you know you will be using it from the get-go. There are kits available with a full range of filters, camera bags, and extra lenses.

2. Megapixels vary from camera to camera. If you plan on enlarging photos, aim for a camera with higher megapixels for clarity and sharper images. But, honestly, I have an 18 MP camera that enlarges photo to 16x20 very nicely.

Here are the Top 3 Best Sellers in order by ranking, not price.


1. $399 Canon EOS Rebel T5 EF-S 18-55mm IS II Digital SLR Kit


Features:
  • 18 megapixel CMOS (APS-C) sensor with DIGIC 4 image processor
  • 3-inch LCD TFT color, liquid-crystal monitor for easy viewing and sharing
  • EOS 1080p full HD movie mode helps you capture brilliant results
  • Features include continuous shooting up to 3fps, Scene Intelligent Auto mode, creative filers, built-in flash and feature guide


2. $496.95 Nikon D3300 24.2 MP CMOS Digital SLR with AF-S DX NIKKOR 18-55mm f/3.5-5.6G VR II Zoom Lens (Black)

Features:
  • 24.2 MP CMOS DX-format sensor
  • 5 frames per second continuous shooting
  • 11 AF points with 3D tracking
  • ISO 100-12800 (expandable to 25600)
  • 1080 (60, 50, 30, 25, 24 fps) HD video (MPEG-4/H.264/MOV)
  • 3 inch LCD with 921,000 dots
  • Expeed 4 processing


3. $499 Canon EOS Rebel SL1 Digital SLR with 18-55mm STM Lens


Features:

  • 18 MP APS-C CMOS sensor
  • 4 FPS continuous shooting
  • 9 point AF system, center AF point is cross-type
  • ISO 100-12800 (expandable to 25600)
  • 1080 (30, 25, 24 fps) and 720 (60, 50 fps) HD video (29min limit, H.264 format)
  • 3" touch panel LCD screen with 1,040,000 dots
  • Movie Servo AF for continuous focus tracking of moving subjects

Although I've been a Canon user for years, I'm personally tempted to go to the other side and try a Nikon just so I can argue both sides of a coin. Heads, Canon, Tails, Nikon. Win-win. If you have a favorite brand, some, I know, prefer Sony or others, leave a note in the comments! I'd love to know what people shoot with.