
Photo Credit:
Doug Bailey
Last year
Doug Bailey,
a Southern California firefighter, put down his firefighting gloves and
jacket one last time. Now, as a retired firefighter, Doug spends his
days capturing breathtaking images. In this compelling interview, Doug
shares the struggles and the poetic similarities of the two different
careers.
HH. Describe the feeling when the alarm sets off at the firehouse.
DB:
I was a firefighter for 25 years, first as a reserve and then full
time. I prepared myself for any situation that may arise, but never knew
what those situations may be. So when the alarm sounded my feeling was
anticipation suffused with happiness. I knew that by the end of the day I
will be deeply satisfied by having done something I was created to do.
And always, there was a deeply rooted sense of joy.

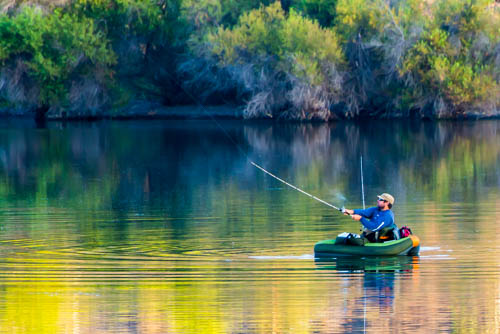
Photo Credit:
Doug Bailey
I
was fortunate enough to have worked in a seaside location in Southern
California, so what began as a small hobby of taking morning and evening
surf photos and posting them to my social media friends, turned into a
real passion. When I think about it, going to work at the fire station
was a lot like going on a photo shoot. I have much the same feeling of
joyful anticipation. You never know what you may find! There is also a
similar sense of deep satisfaction. I believe knowing one's life purpose
allows for the deep satisfaction in job or photo shoot.
HH: Are there any similarities between firefighting and photography?
DB:
On first thought it would seem that the hurry, pressure, high stress
critical choices and controlled efforts used in fighting fires has
nothing to do with photography. But I am a strong believer that one's
life is built much as a house. First the foundation, then the walls,
next the roof, etc. So each life experience builds on what has gone
before. So, do I use my fire experience when I take photos? Yes, in a
thousand intangible ways. From sizing up a fire scene to sizing up a
landscape scene. From quickly establishing an emergency strategy to
quickly composing a photo before the light fades. The same hurried, but
not rushed, feelings and skills emerge. And humility surfaces, knowing
that few are so privileged as to make such a difference in other
people's lives.

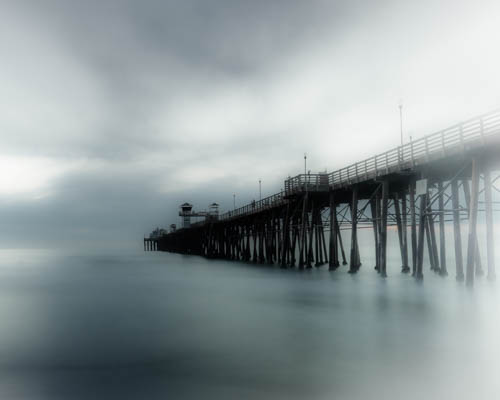
Photo Credit:
Doug Bailey
Saving
lives or property is deeply satisfying and humbles my spirit. But so
does touching someone's life with a beautiful photo that reaches their
soul. For instance, right now I am texting with a major hospital chain's
bio ethicist. His job is to help families make life or death decisions
about their loved ones. He watched my YouTube photo video "
Journey"
and wanted me to know how much it helped him after a hard day. He is
forwarding the video to his Chief Operating Officer for evaluation in
their work. Now, that is very cool, and humbling.
HH: What is it about landscapes versus portraits or fine art that you prefer?

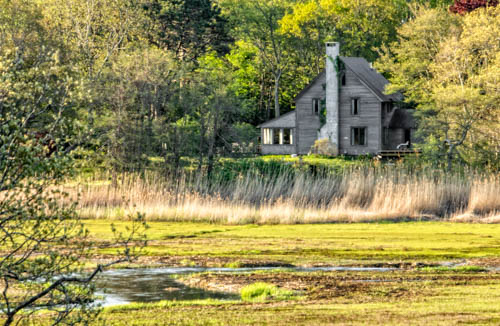
Photo Credit:
Doug Bailey
DB:
I shoot landscapes for a couple of reasons. First, there is a certain
feeling of adventure and discovery whenever I set off on a shoot. That
very much attracts my attention. Next, there is the feeling of being
lost in time and moment while composing a photo. My friend calls it the
"Zen Moment" of photography. Time stops and I become lost in the scene, I
could be there five minutes or five hours and that feeling of time
suspension is always with me. Very relaxing. Third and most important, I
believe we are made to enjoy and celebrate the beauty of creation. To
capture and share just a bit of that beauty makes my life full, and to
be in touch with the creative part of my being brings me close to my
Creator. That is not to say I am above a great portrait session or fine
art, I definitely have not finished growing yet!
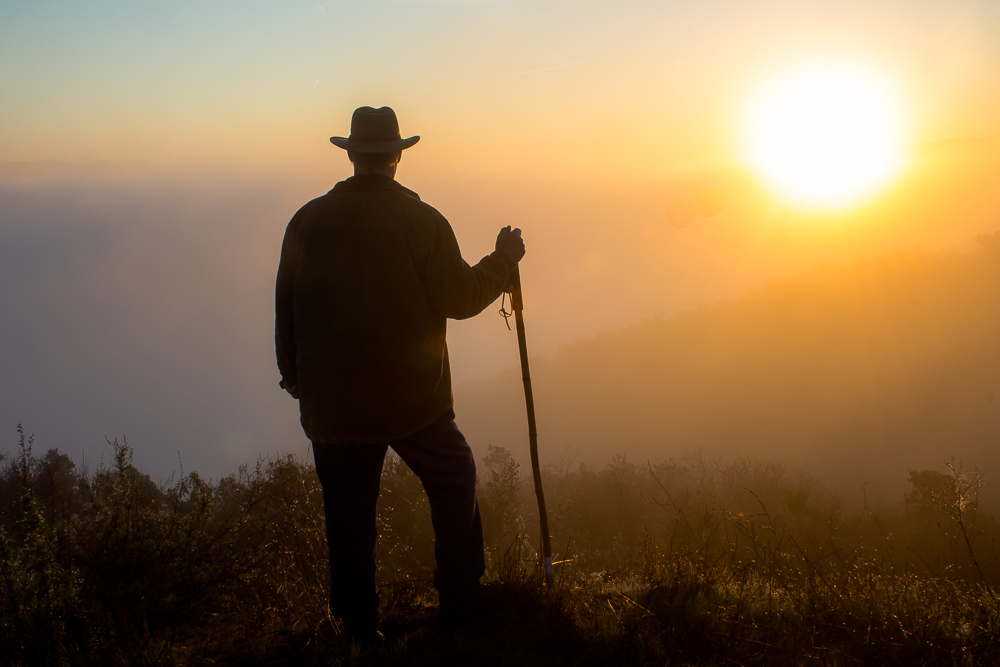
HH: Which of your images is your favorite?

Photo Credit:
Doug Bailey
DB:
My first concept of photography was as a journey, and I was greatly
inspired by Robert Frost's "The Road Not Taken". You know, the one that
begins "Two roads diverged in a yellow wood, and sorry I could not
travel both..." I had a definite choice to make when I left the fire
service, and I chose photography as my life's pursuit and passion. Not
exactly an easy road! So my development as a photographer has been very
much like a journey. I have to say my favorite photo would be the
original Lightfinder signature self portrait where I am standing on a
misty hilltop with my hiking staff and hat and watching the rising sun.
That photo is my touchstone, the one that will always point me back to
myself if I wander too far afield.
HH: You're known as the "
Lightfinder." What is your thought process when analyzing light?

Photo Credit:
Doug Bailey
DB:
It is the light, always the light, that first attracts my eye.
Everything flows from finding that sweet light, and I have had the good
fortune to find more than my share of that pure, beautiful light. So I
look for light crossing in front of my lens and try to shoot a close
into the sun as I can. In my mind I think of it as sailing close to the
wind.

Photo Credit:
Doug Bailey
I
need to say here that another important and tangible component to my
personal style is my love of music composition. One of my earliest
childhood memories is that of looking at the family piano and wanting to
create music just by placing my fingers on the keyboard. At the age of
twelve I began to study music seriously, first as a classical pianist
and then as a composer and singer/songwriter. I have never stopped. I
find a natural connection between composing music and composing a photo.
I look for the light, subject, lines, and harmony in every photo I
take. Since I love a simple, uncomplicated composition with a pure
melody and sweet harmonies, I see that translating into my photo style,
which is why I came up with the term "Lyrical Photographer" So, the
light begins the composition, the lines and melody, lyrics and harmony
completes. That is the essence of "Lightfinder."
HH: Where have your images been, or will be, on display.

Photo Credit:
Doug Bailey
DB:
June-July 2012, San Diego County Fair
June-July 2013, San Diego County Fair
November 2013: Metalography Gallery, Temecula California
December 2013: Calumet Photo San Diego
June 2014, Temecula Art Festival
June-July 2014, San Diego County Fair
Forthcoming
March 2015, City of Temecula Featured artist in the Old Merc Theater.
Youtube video
Journey

Photo Credit:
Doug Bailey
Thank you, Doug for sharing your wisdom and images!
Follow Heather Hummel on Twitter:
www.twitter.com/HeatherHummel
This post originally appeared on the Huffington Post.


